A perfect website creation involves some important things to complete. Domain registration and hosting are one of them. When you are done with your website or blog name, next important thing that comes into picture is domain registration and hosting.
Both things can be accomplished on single hosting platform. You only need to choose out of several available options in the market to host your website. Several option – Blue Host, GoDaddy, HostGator, and Hostinger.
I have completed my website creation with help of best hosting – HOSTINGER. They have made it so easy to use platform, even a newcomer can easily complete, here are the steps below.
Click the link and go to home page of Hostinger. You must have your G-mail account ready to login to hosting platform or you can use your Facebook account as well.
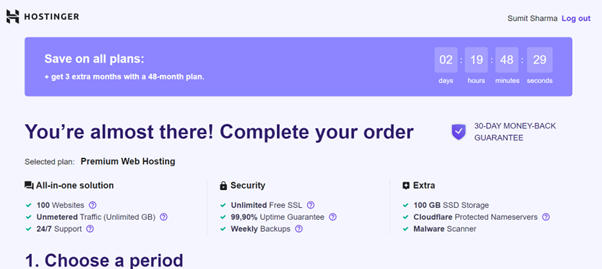
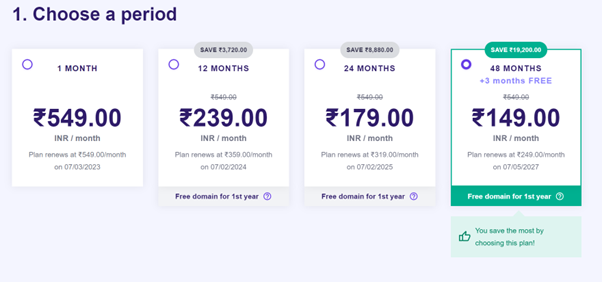
Once you login, you need to select the time like how long you want the hosting plan. Normally, a newcomer should choose at least 12-month plan. I have prior experience of hosting a website and have huge plans so taking 4 years in one go. It is cost effective too. Here, always go with premium hosting plan as it provides you good options. You can easily compare such things on various platforms.
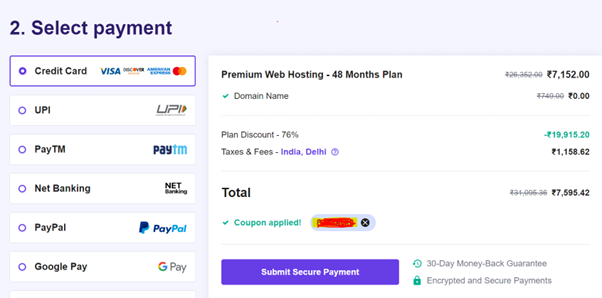
One advantage of working with Hostinger is that it provides you several payment options which includes UPI, net banking, Credit Cards, Debit Cards, and PayPal account. You need not to worry about the payment method as it secured too with 128-bit SSL layer.
There you go, we are done with the payment. They will provide you option now to claim your first-year free domain. So, you need to register your domain through Hostinger, and it is quite good and hassle free.
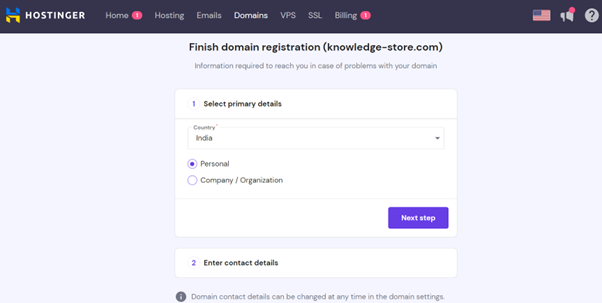
Now, you need to provide some information like country, contact details, E-mail id. Choose option as per your requirement like for whom you are creating website and is your website an online store, Blog, Business, portfolio, or any other.
Hostinger provides another good option to migrate your existing website or to create a fresh one.
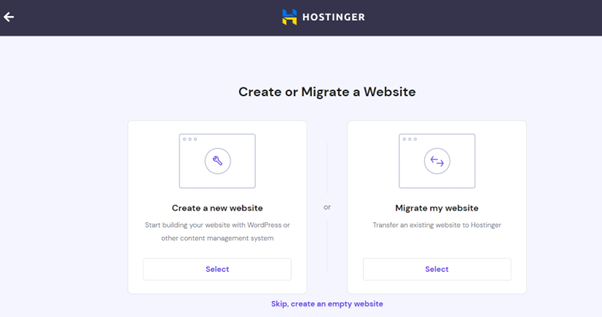
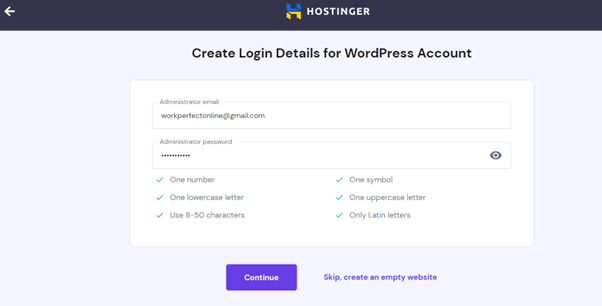
Choose the WordPress option to build your website. Now, you need to create the WordPress account so give your E-mail and password. Create a password that you can memorize, or you can write somewhere in the notebook.
Choose your domain that you just claimed so that we can manage the website with help of WordPress. Website creation with WordPress is a separate area that we will discuss in another post. We need to finish the set up so just select the server location. Server location will help you in terms of time taken in load as per your audience. So, try to locate server near by your audience.
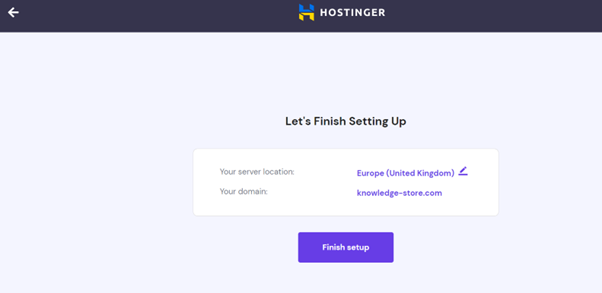
There you go, we are done with the set up. Now you have domain registered and hosted with hosting provider.
We will see free website creation in the next post.
1 thought on “Steps to register domain and host your website”